
You might have seen on my earlier post that I’ve been delving into trying new crafts. After making my macrame plant hangers, I realised that a lot of my plants are in pots that drain excess water. I wanted to keep it simple and not have to fight my plants out their hangers every time I wanted to water them. I started looking around charity shops for cute bowls to put them in but nothing was catching my eye.
I remembered I had some air drying clay at home so I decided to see if I could make my own little bowls, the only roadblock I was worried about was making them waterproof, as once you wet raw clay, it turns soft again. So I went online to see if I could find some sort of easy varnish. After extensive research and a lot of choice, I decided upon a spray gloss by Plasti-Kote that would proof them from water, I ordered it off Amazon for £4.99. I rolled my clay that I got from The Works and laid it in a small metal bowl I had, not before using a ruler to create this groove impression on the outside. Once partially dry and I could remove it from its cast I finished it off on a low temperature in the oven.

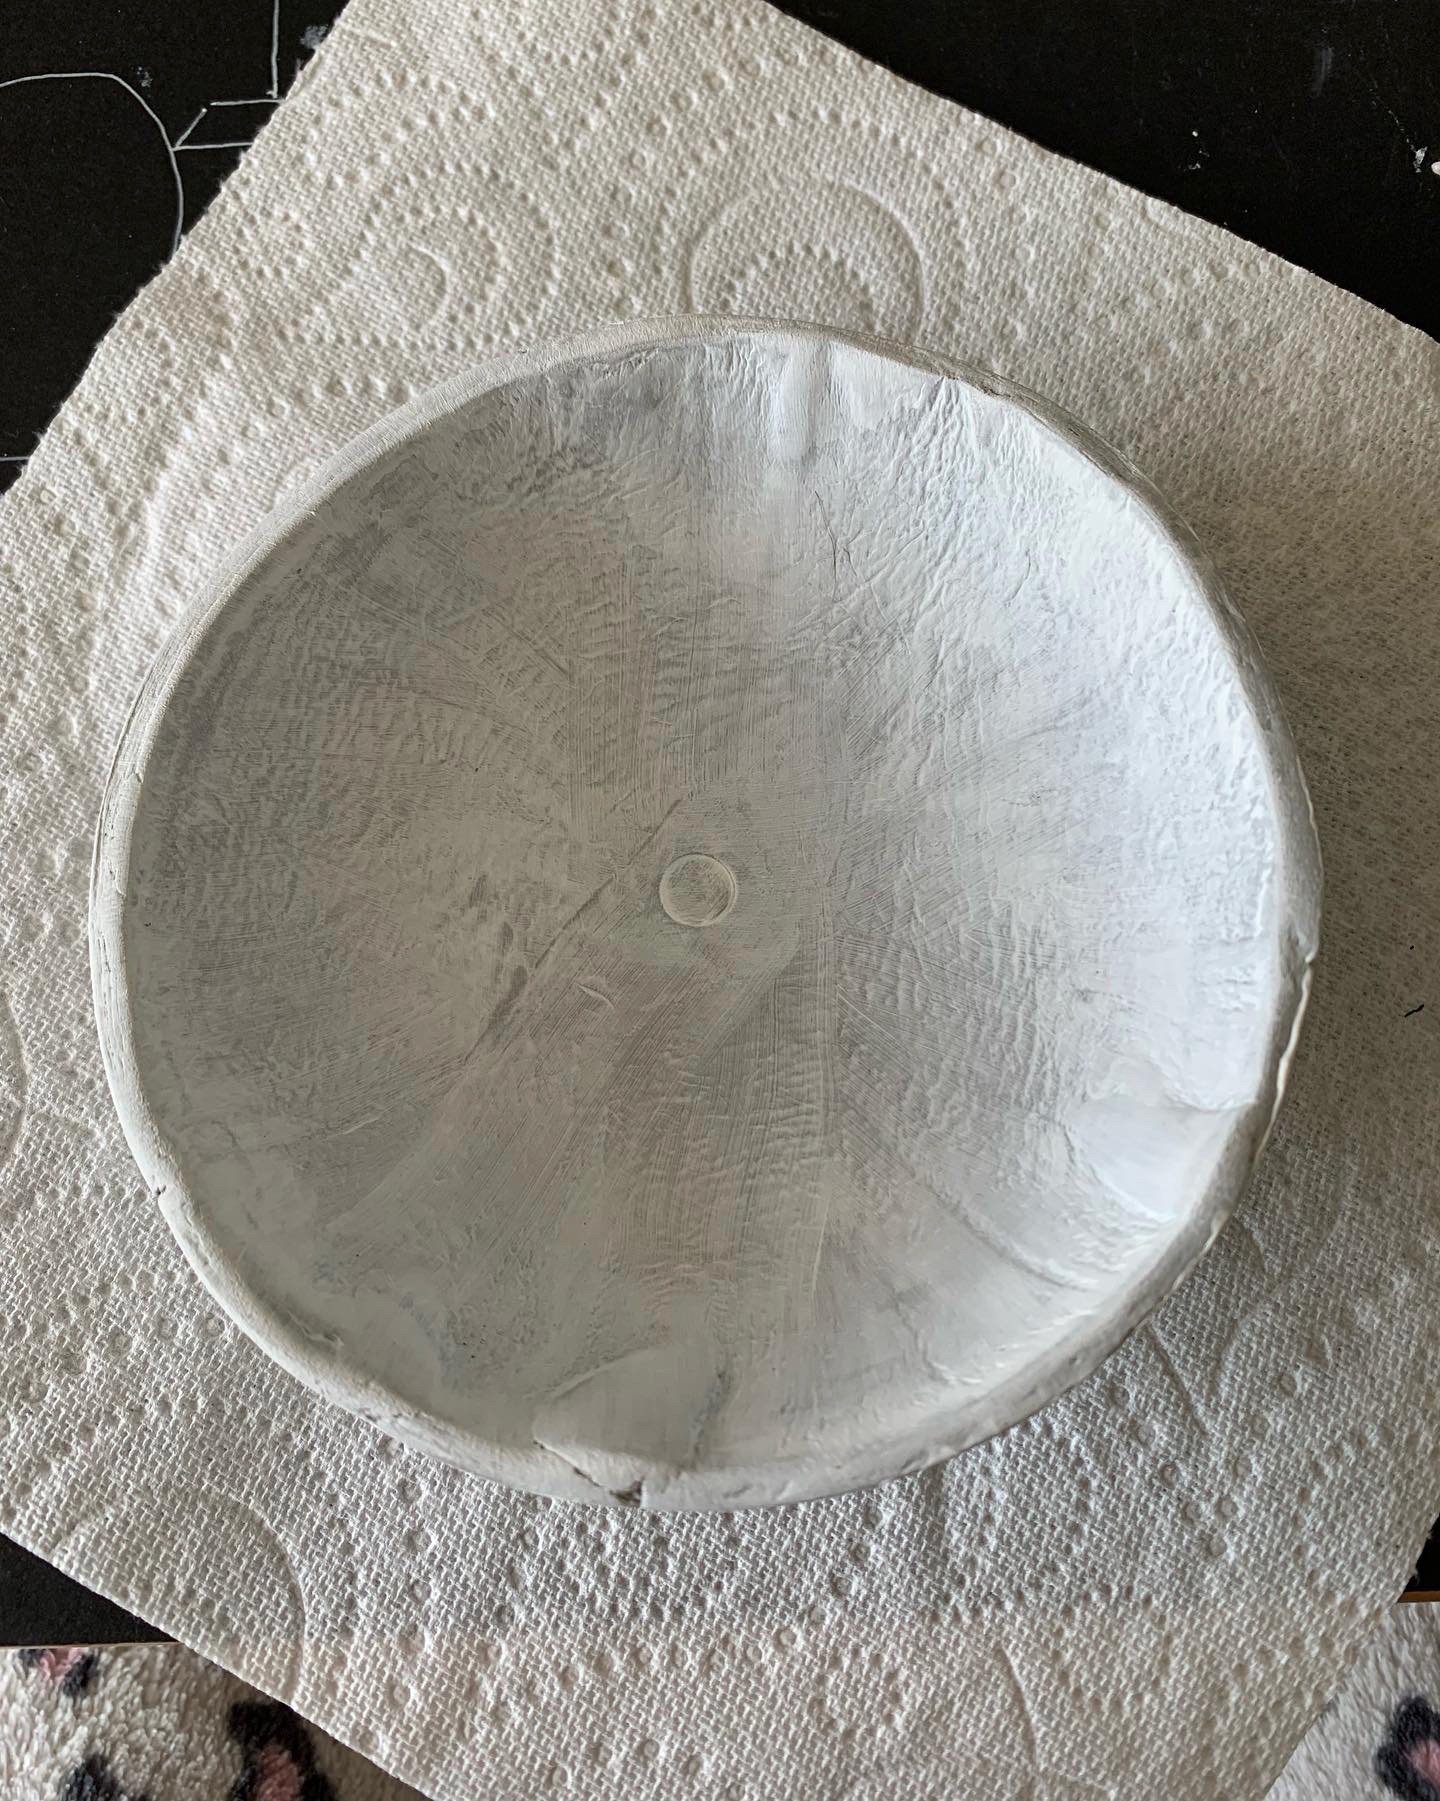
Now dry, I did a base layer of white acrylic paint (all my acrylic paints are also from The Works), I was a little impatient for it to dry so I sped the process up with my hair-dryer. Once the base was dry I did a coat of colour one side at a time. Once I had done about two or three layers of red for the outside and orange for the in, I was now able to add detail. The gold paint on the grooves on the outside was done by an acrylic paint pen I had to dissemble as the nib of the pen was to thick so I used a paintbrush. For the line detail on the rim I used a 0.7mm red Posca Pen I got from Cass Art Shop.


Now with all the paint dry it was time to seal it. The spray is also an adhesive so I had to not only spray it away from other things, but I had to make sure my bowl wouldn’t stick to the surface it was drying on. I got an old piece of laminate/wood I had lying around and taped the cardboard from a toilet roll to it, I then rested the inside of my bowl on top, covered it in the spray and let it dry indoors for 24hours, once the outside of the bowl was dry I was able to spray the inside and VOILÀ … got yourself a plant bowl!
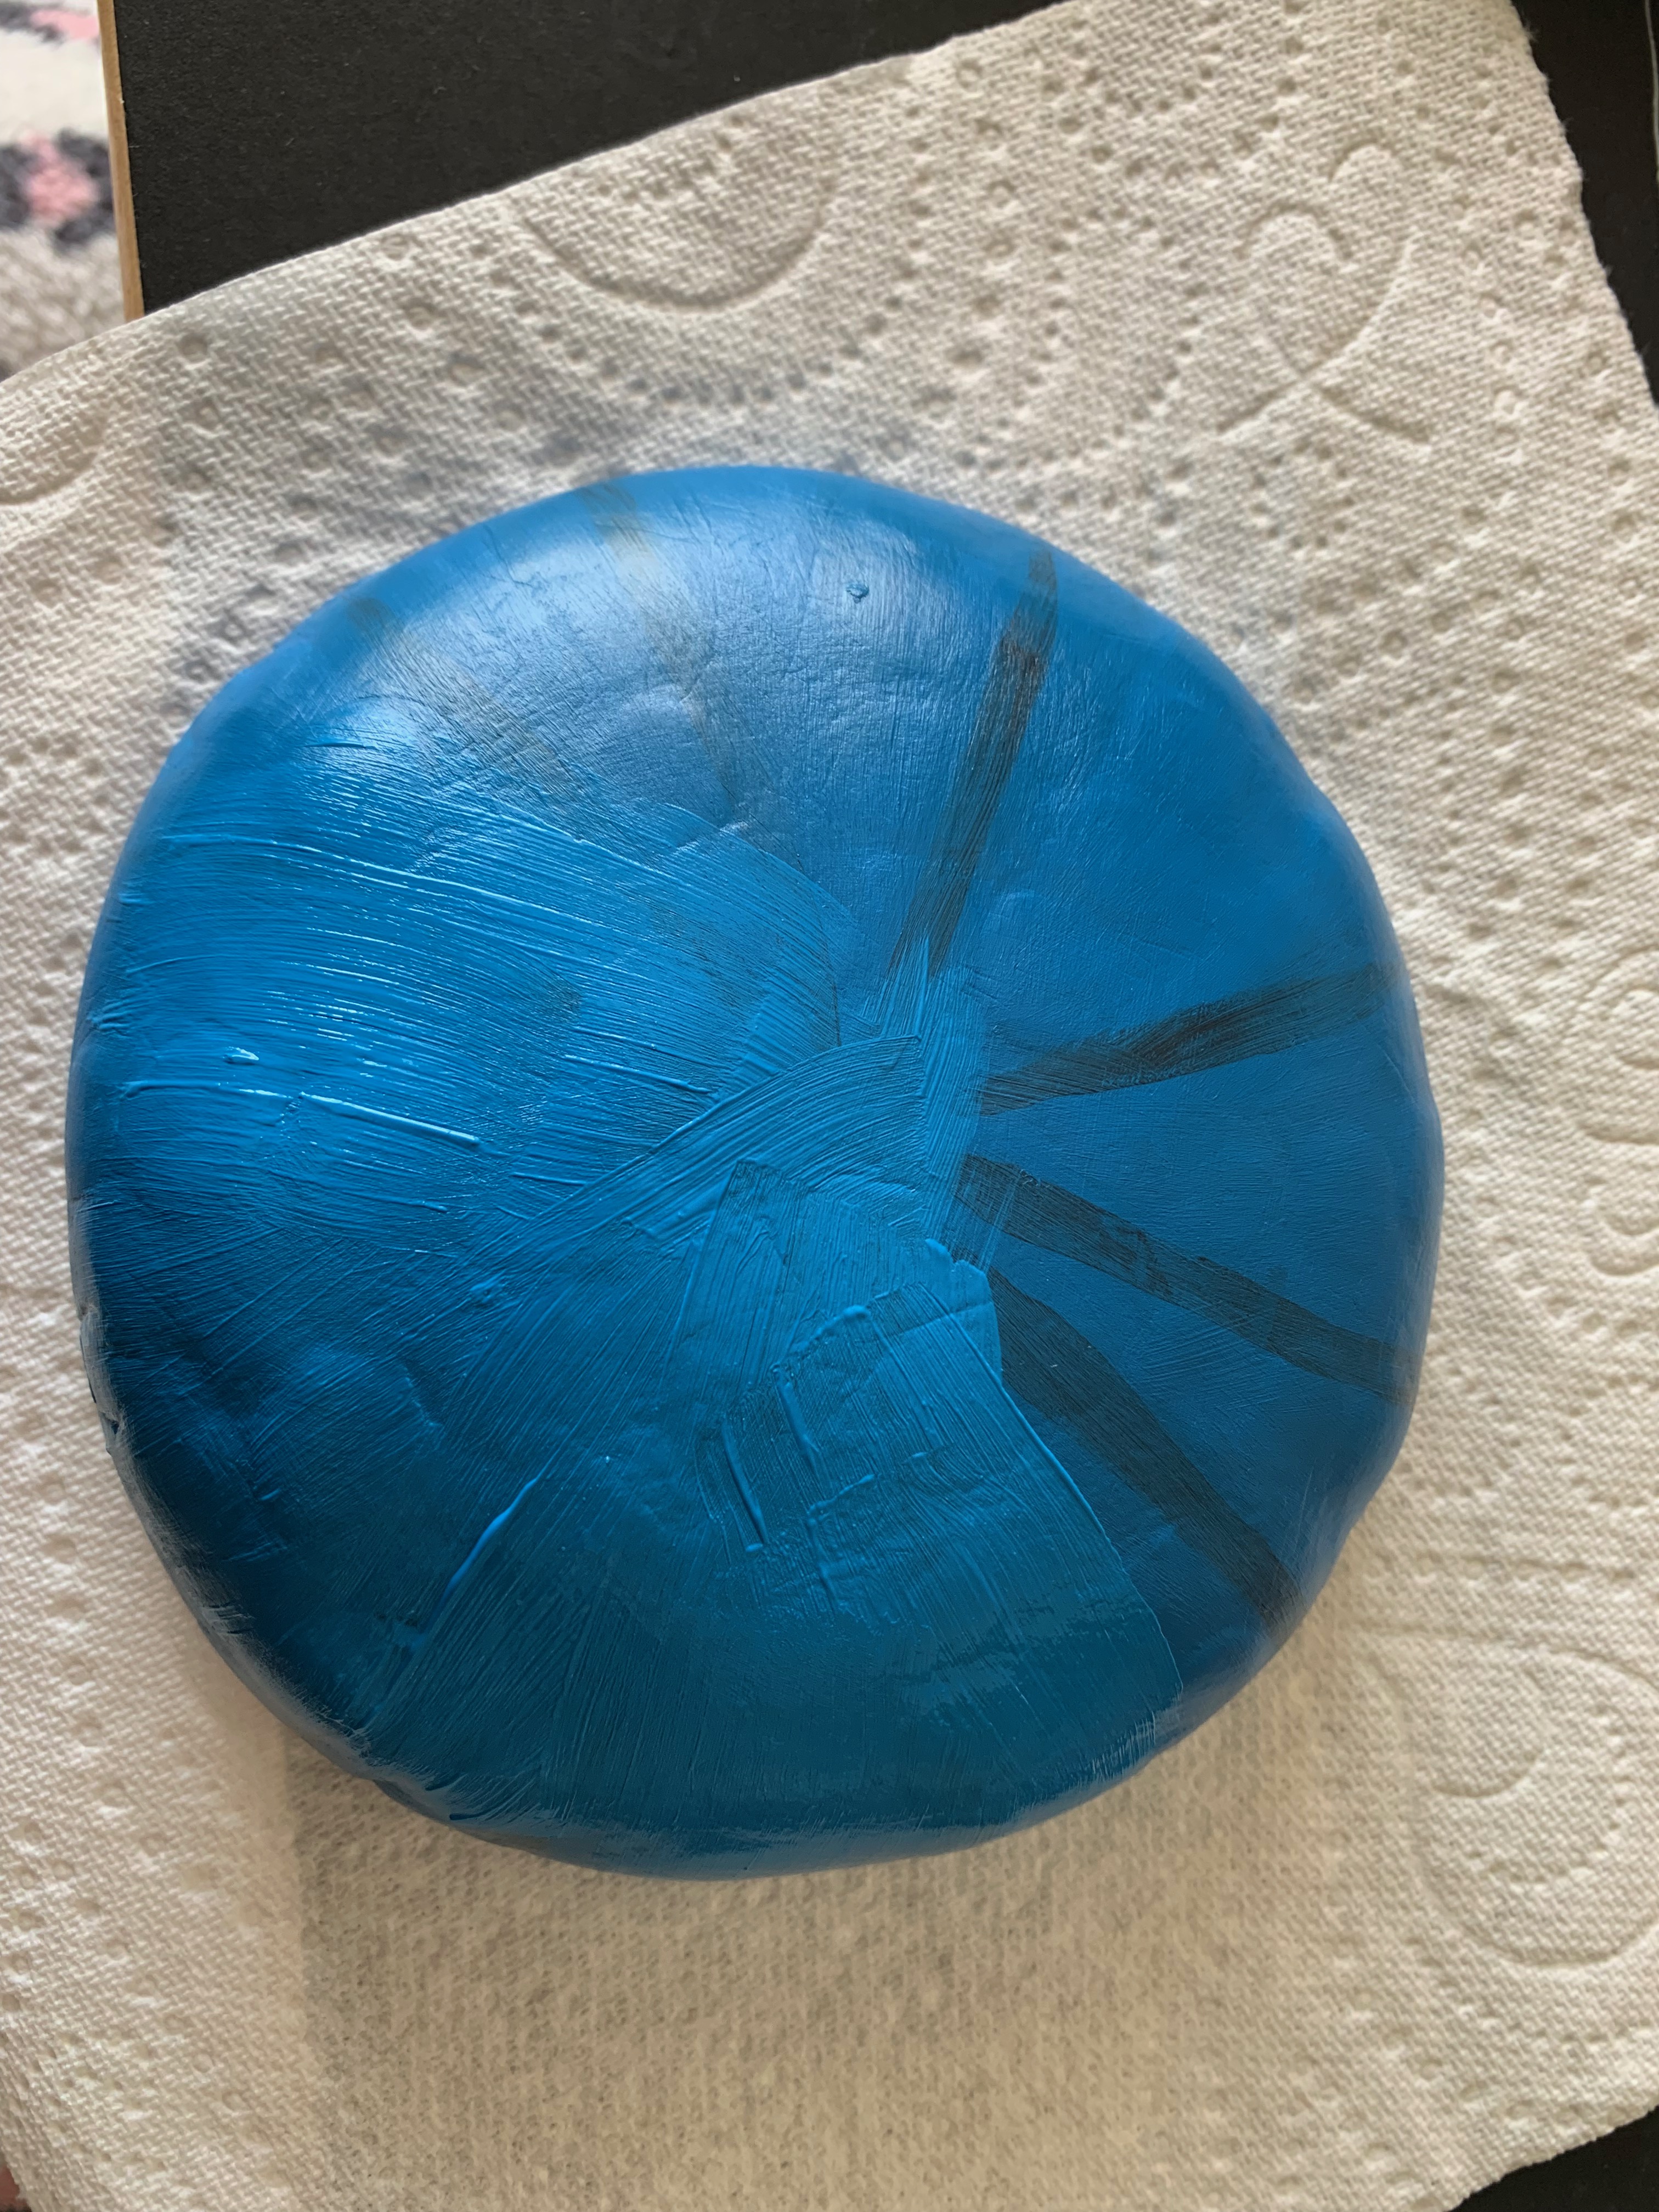
My second pot I made was for my goddaughter, I wanted to sow some organic lavender to hang in her bedroom and couldn’t well just give her a standard old pot could I! Using the same techniques as the last pot dish thingy I made. With this I used a small wooden rod to create these little round grooves on the inside. I tried to paint lines on the outside like you can see photographed but decided against it as .. well I couldn’t be bothered. But the clay being dry and painting with thick acrylic, it was easy to fix. It now hangs in my living room whilst I attempt to make my seedlings strong so my sister can focus on being a new mummy! I also made the macrame plant hanger so she can keep it, grow it and cherish it forever!


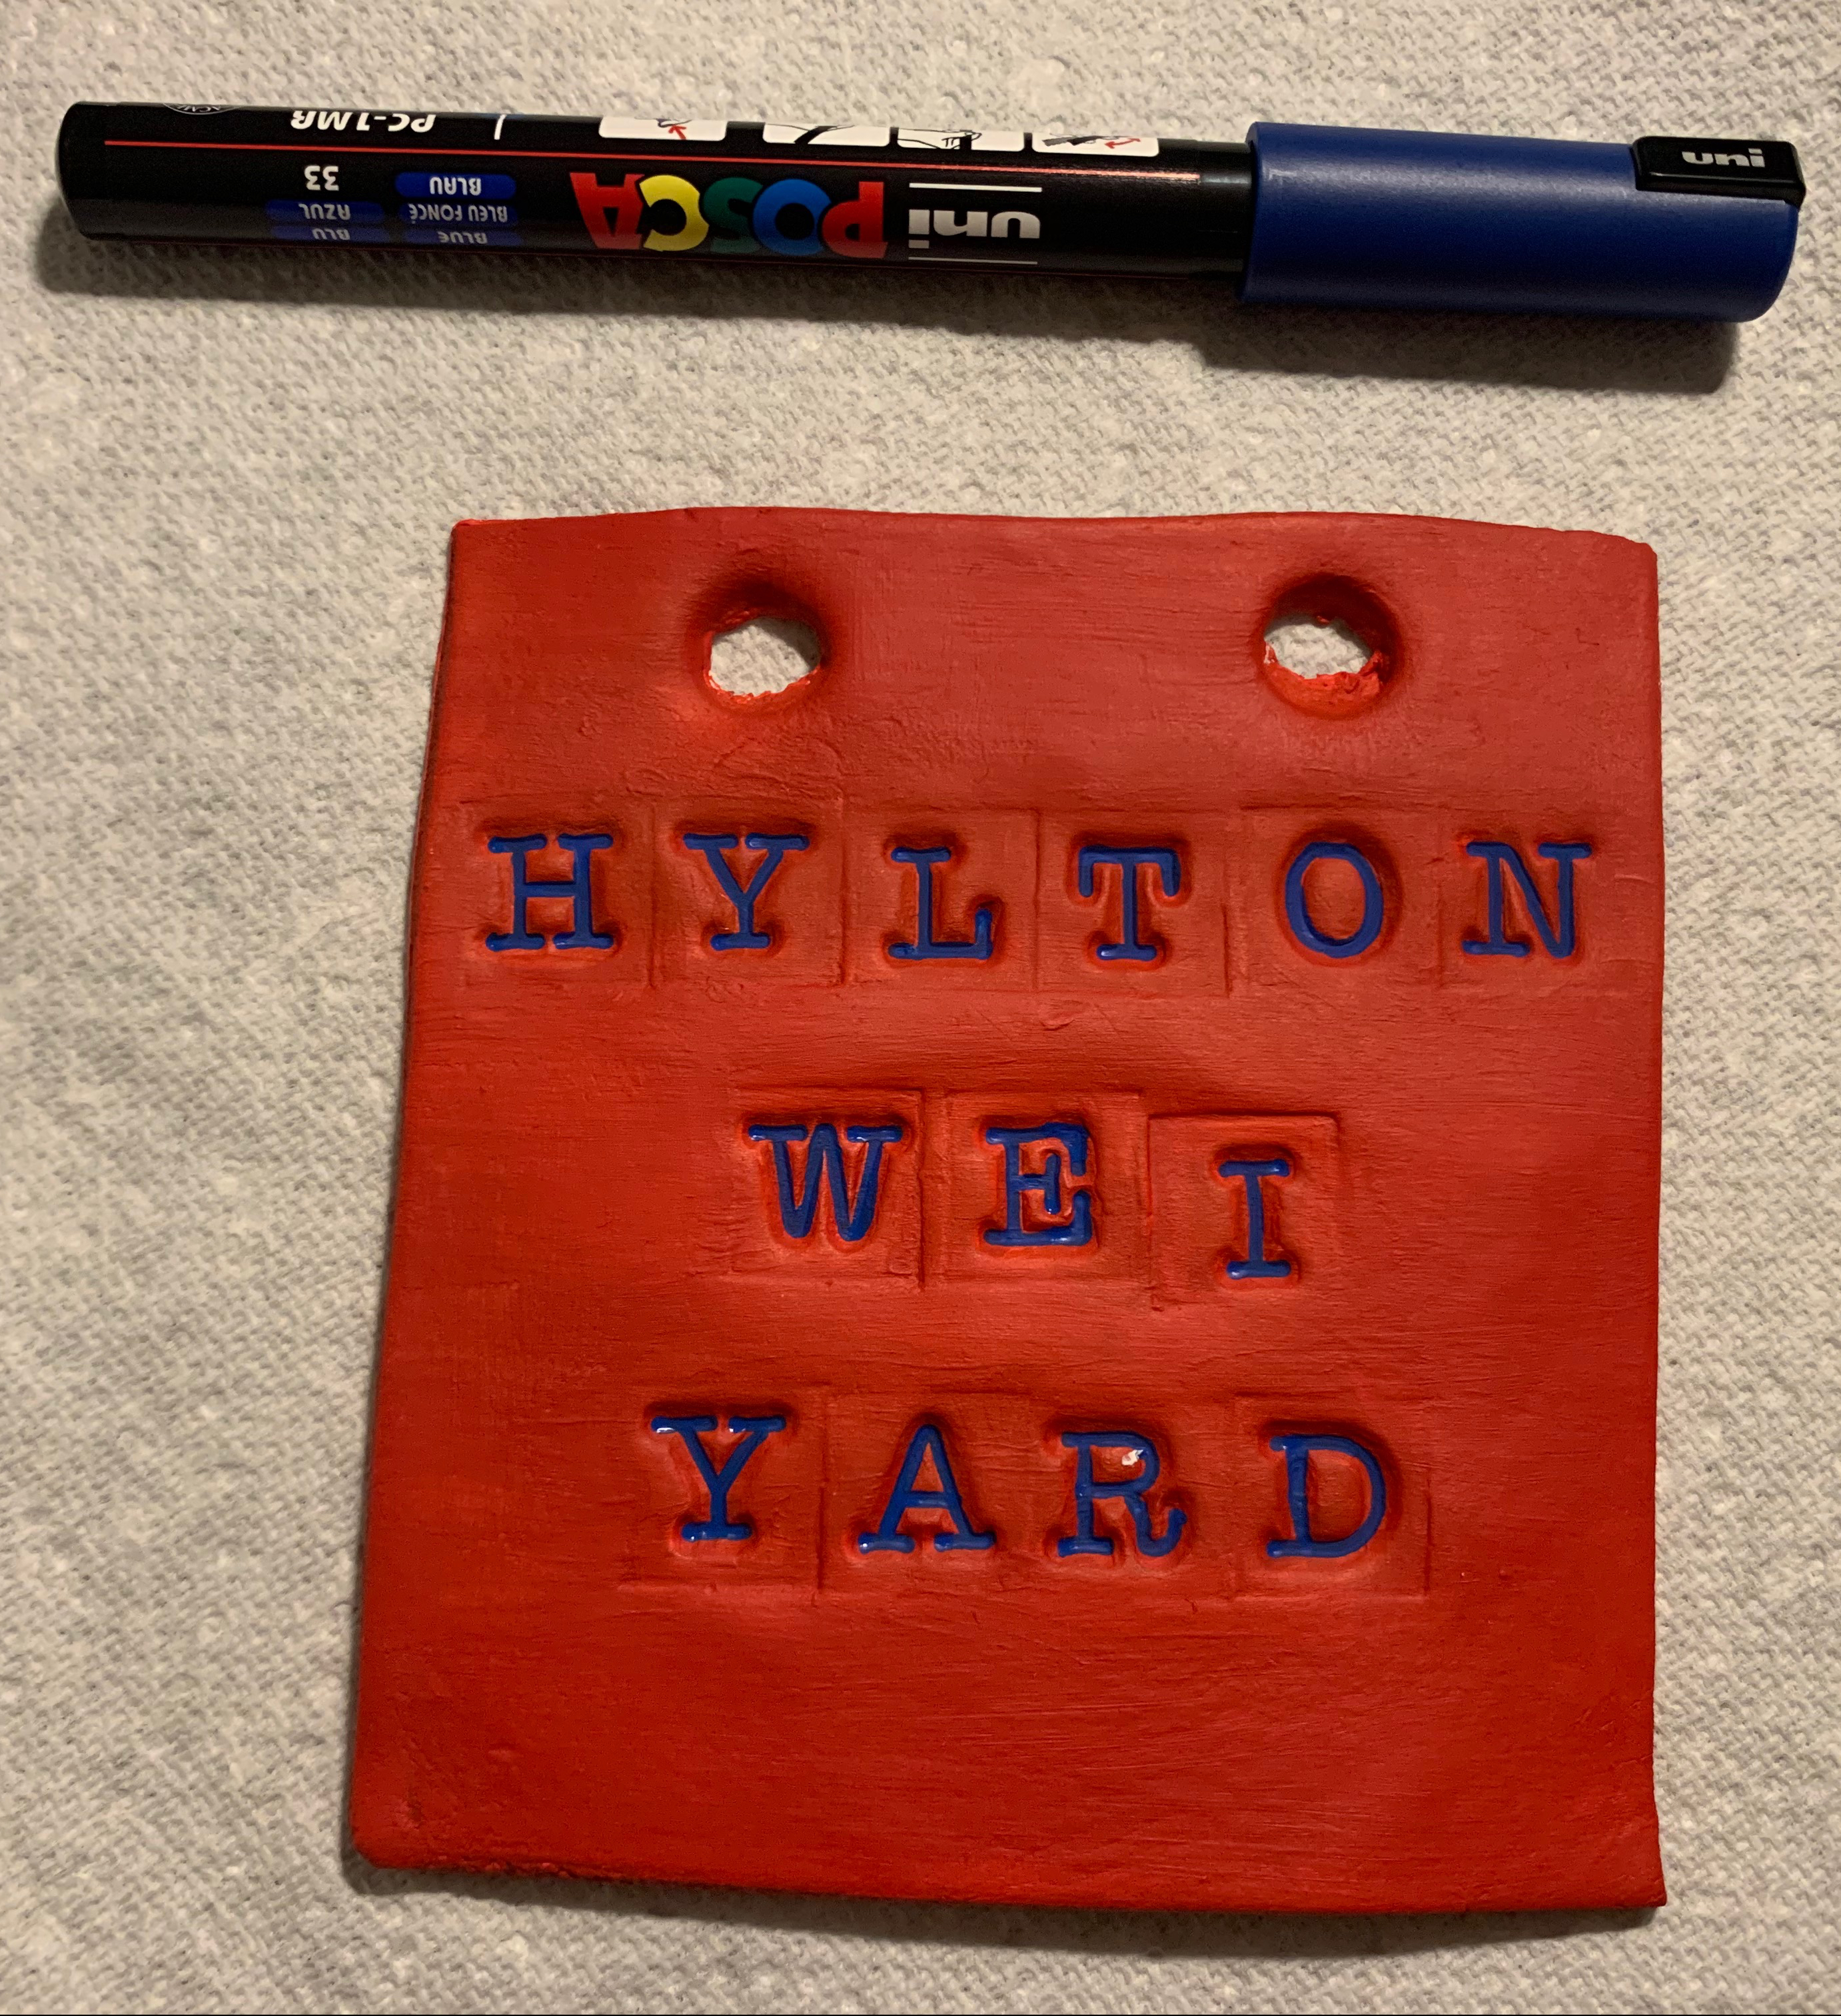
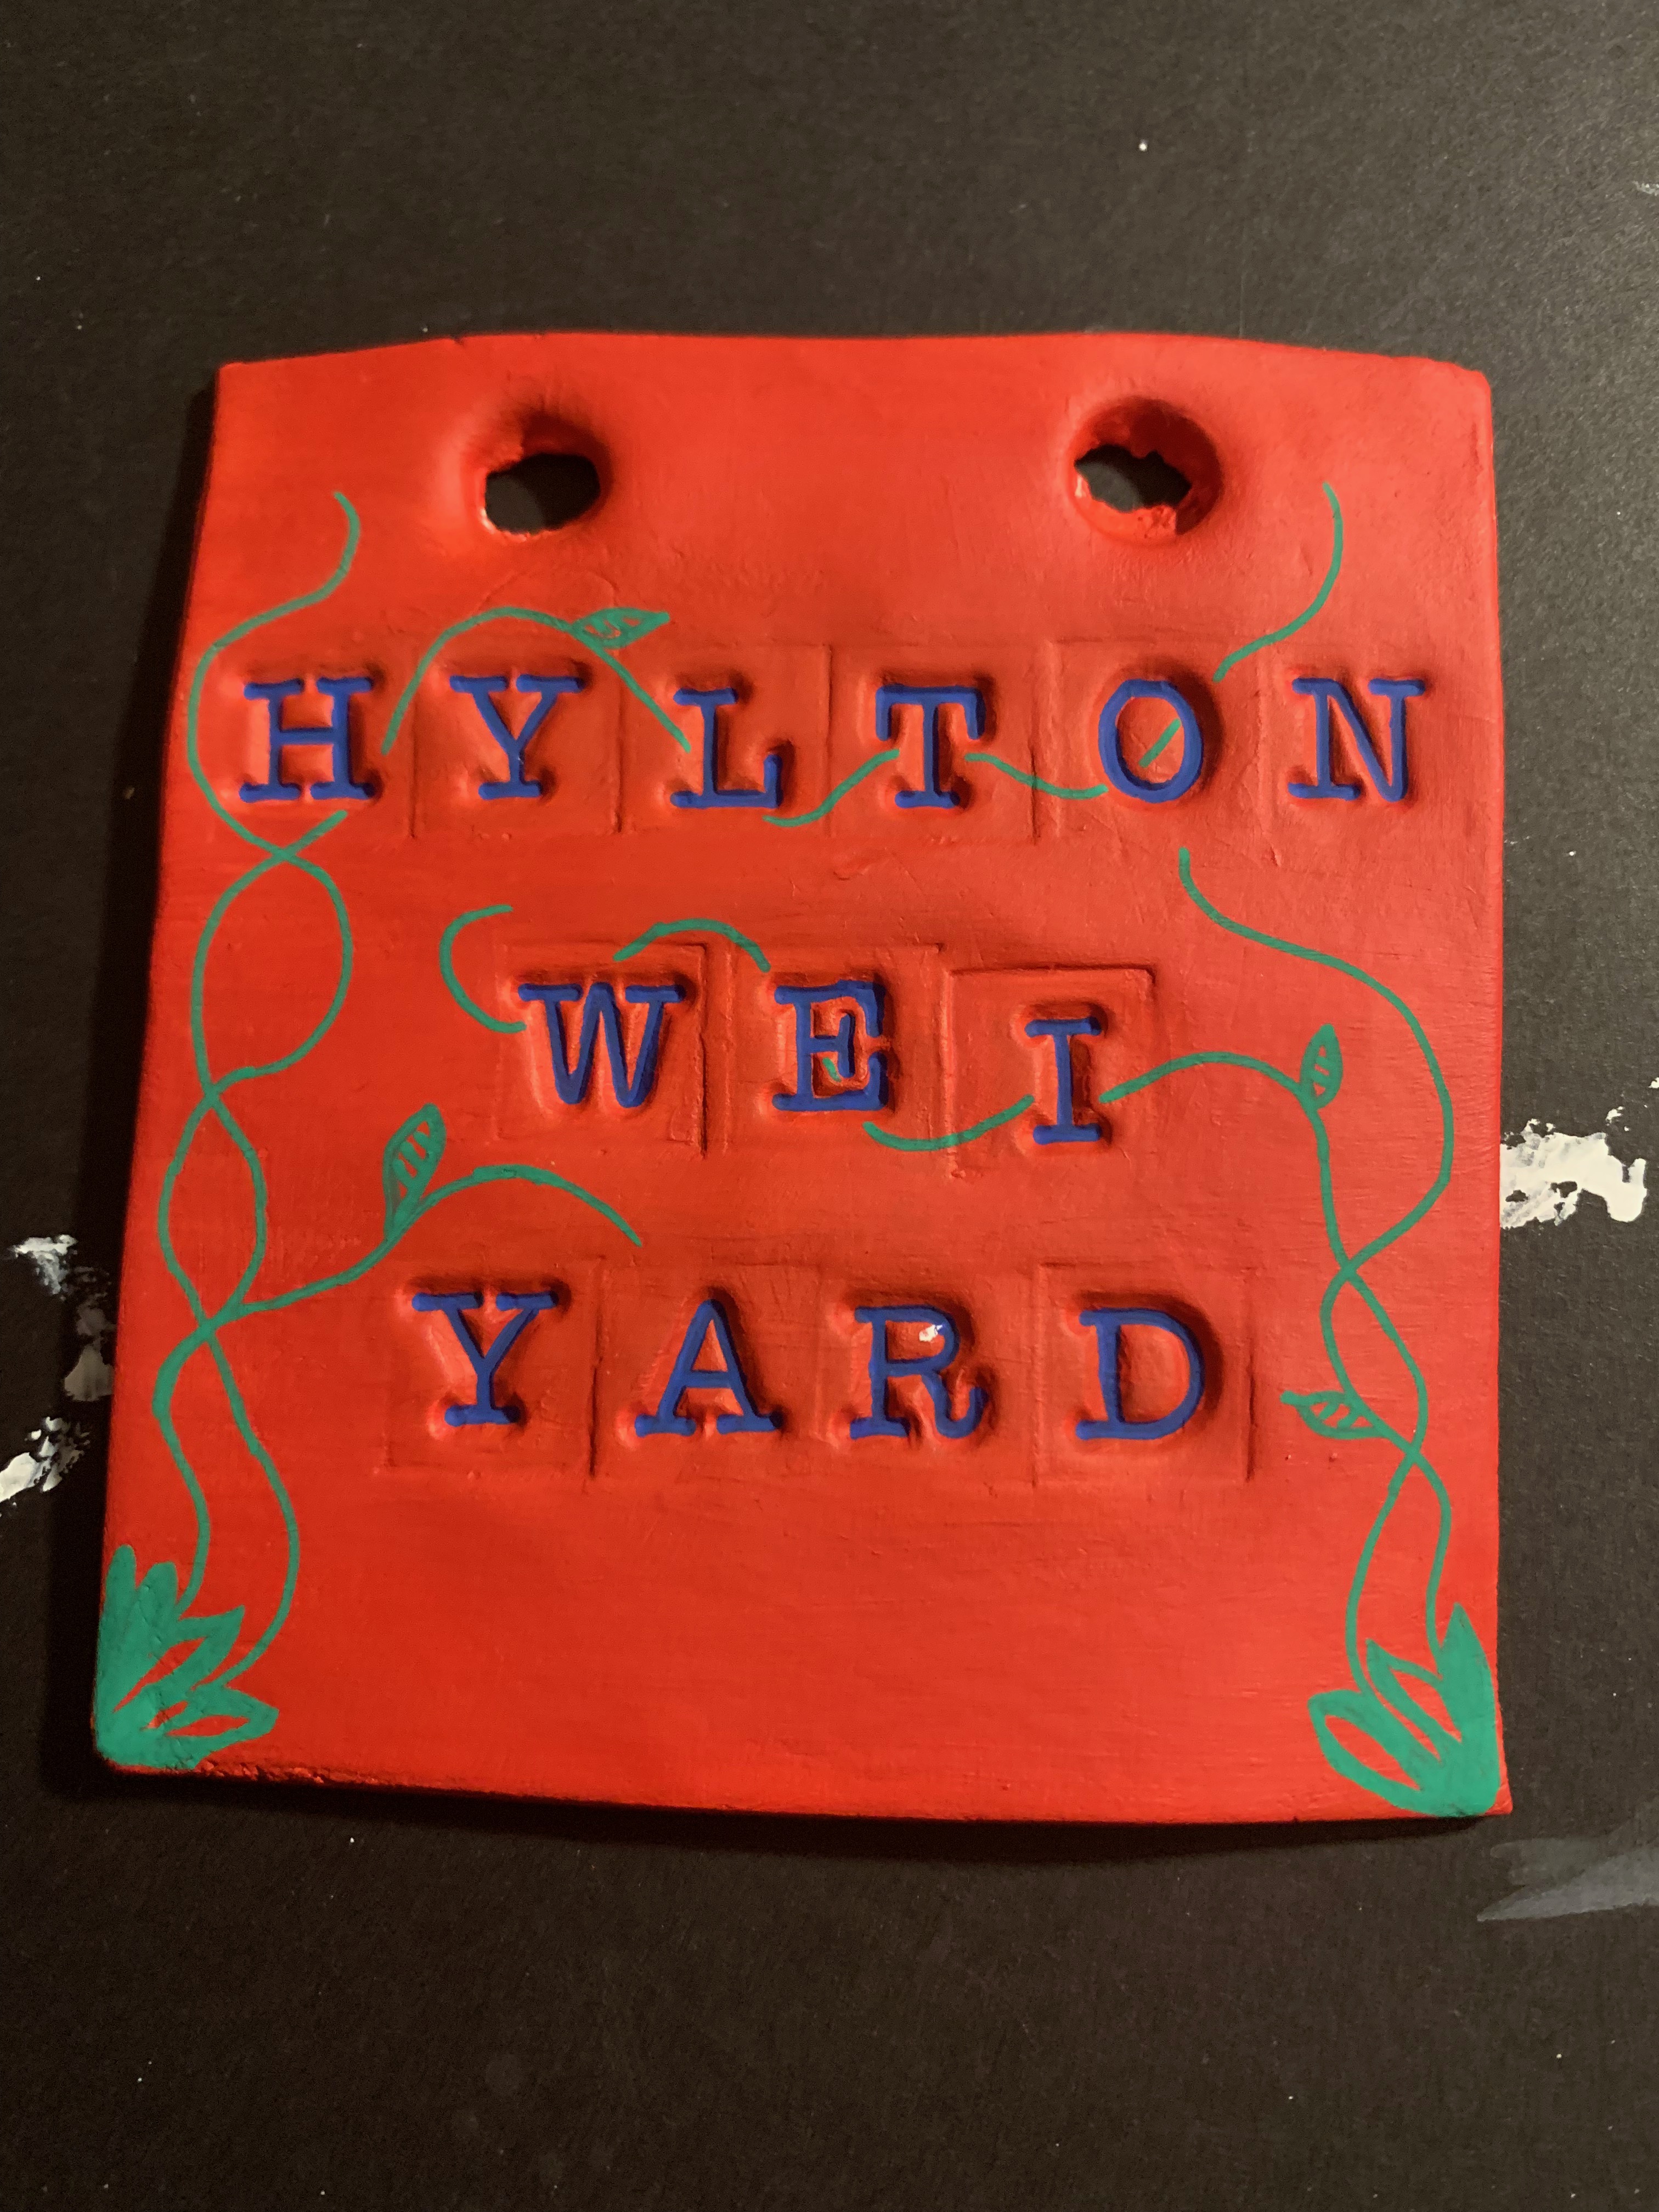
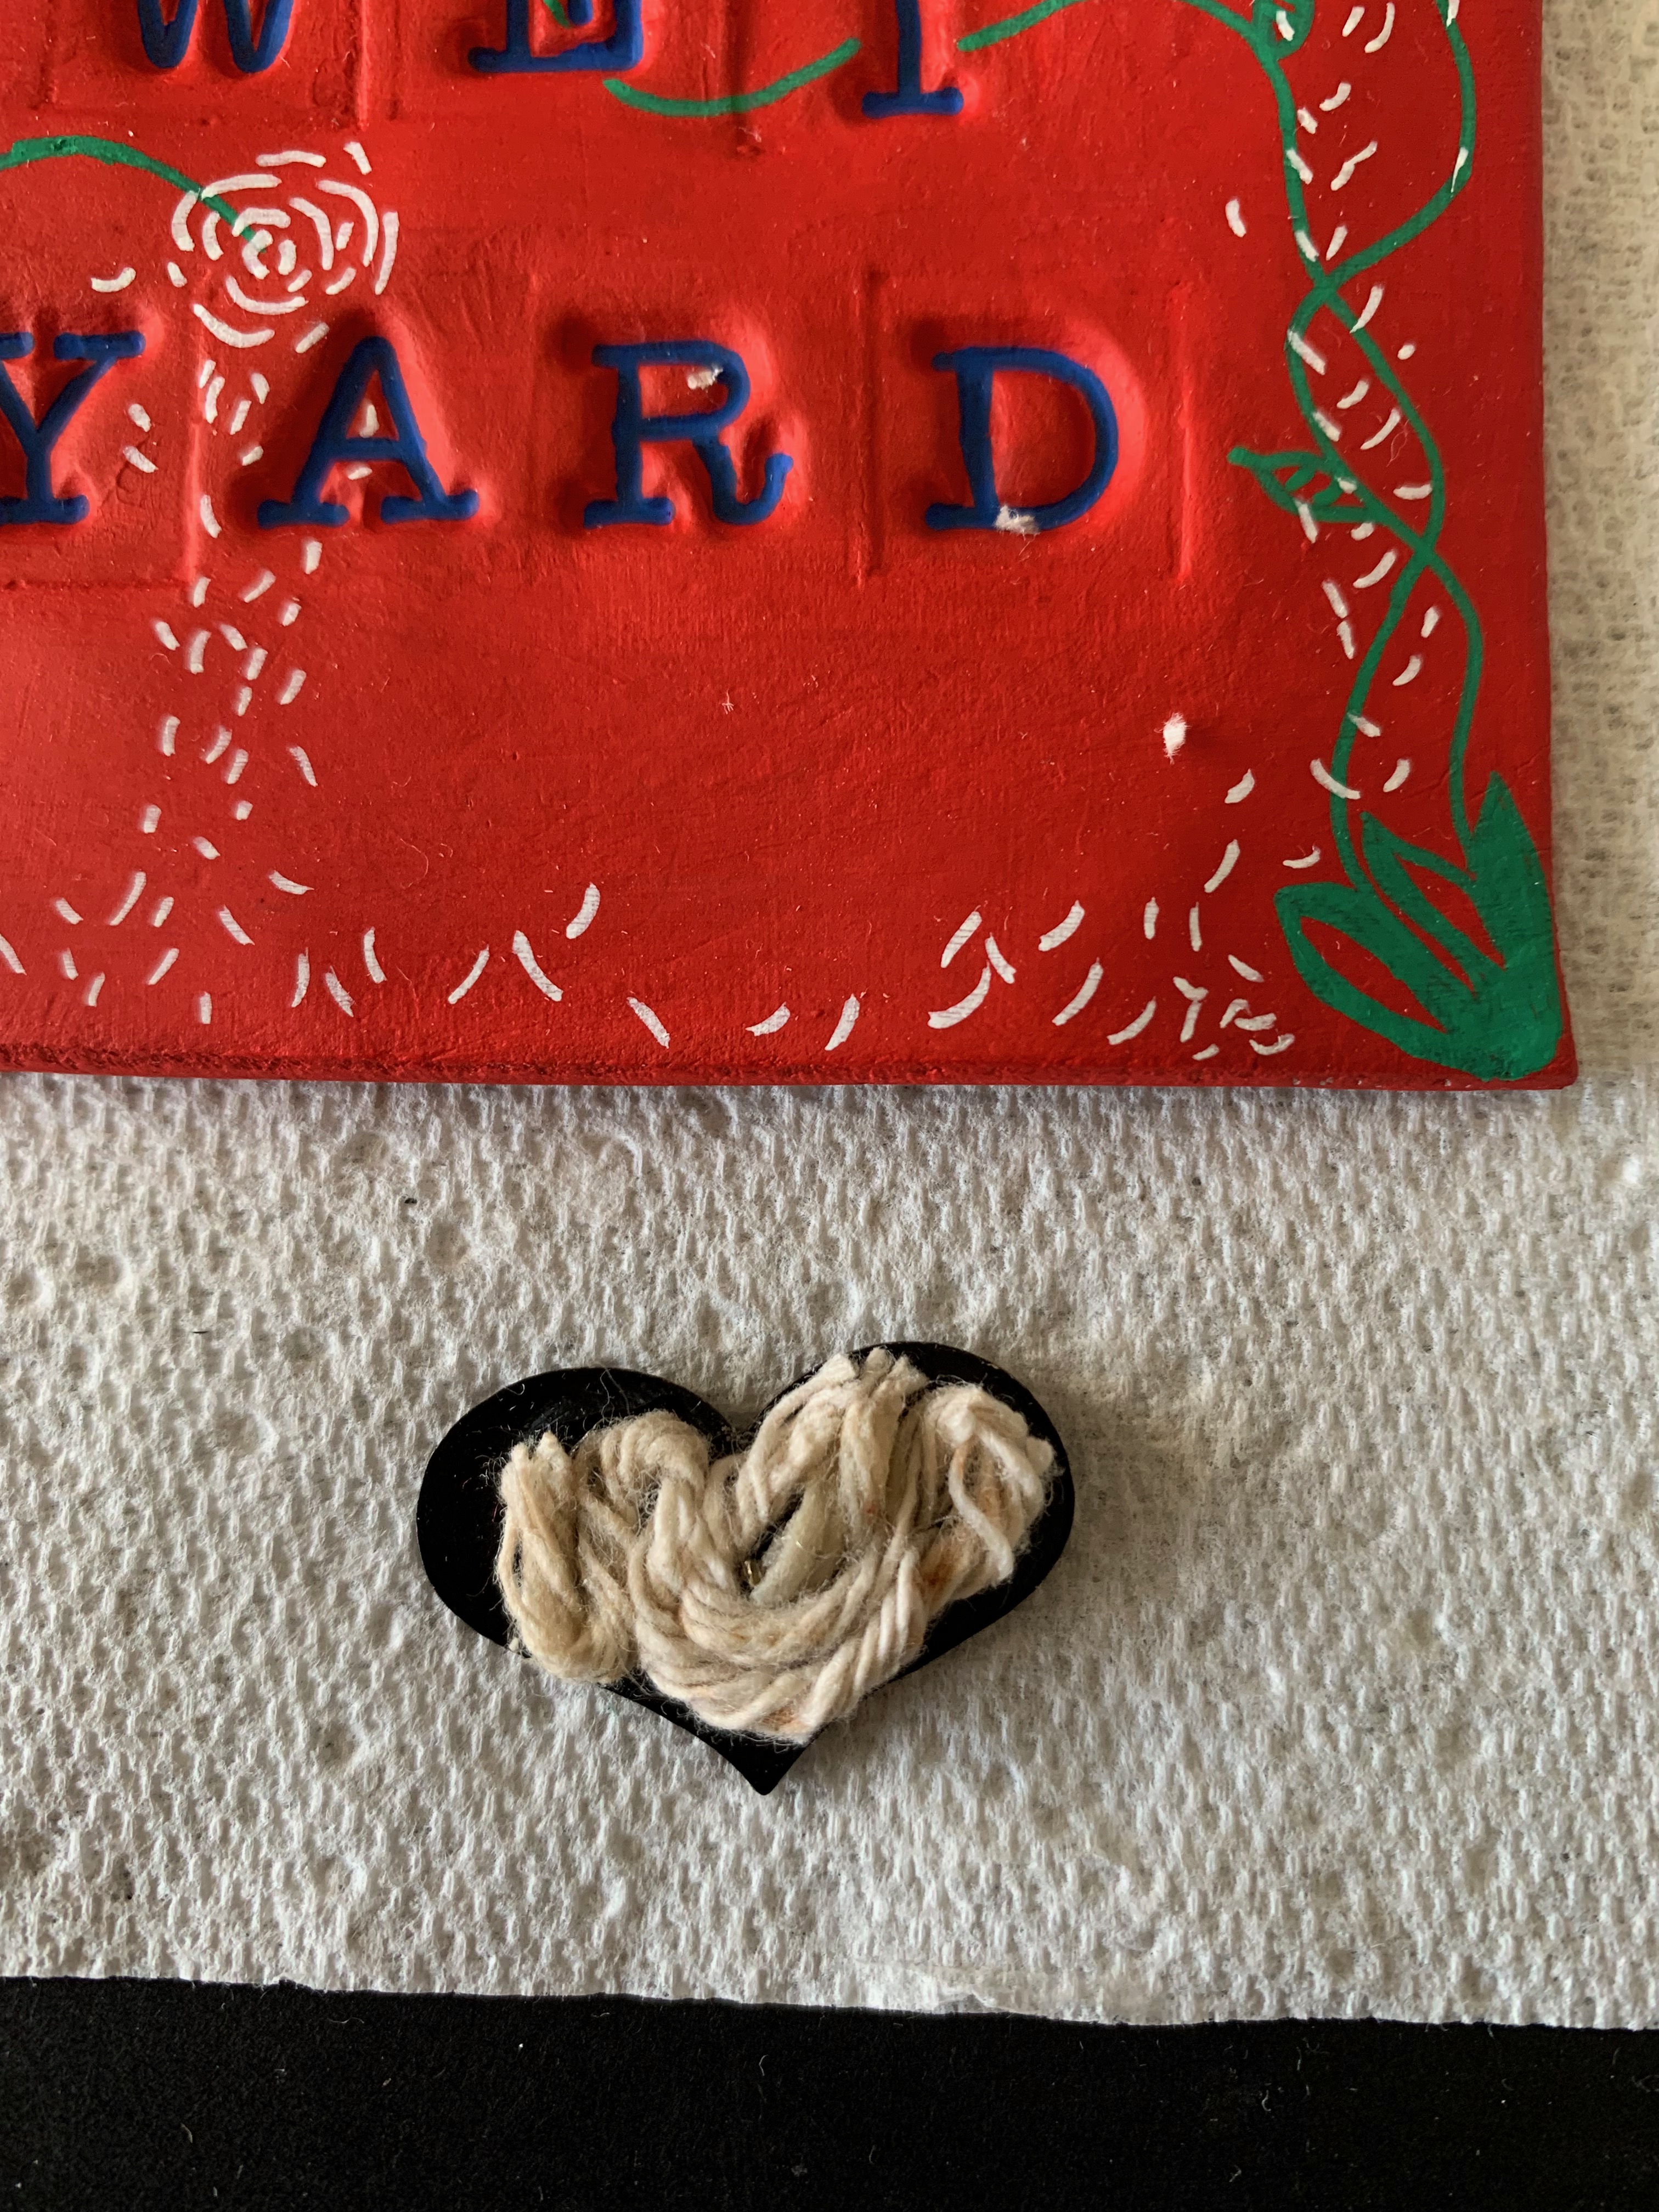
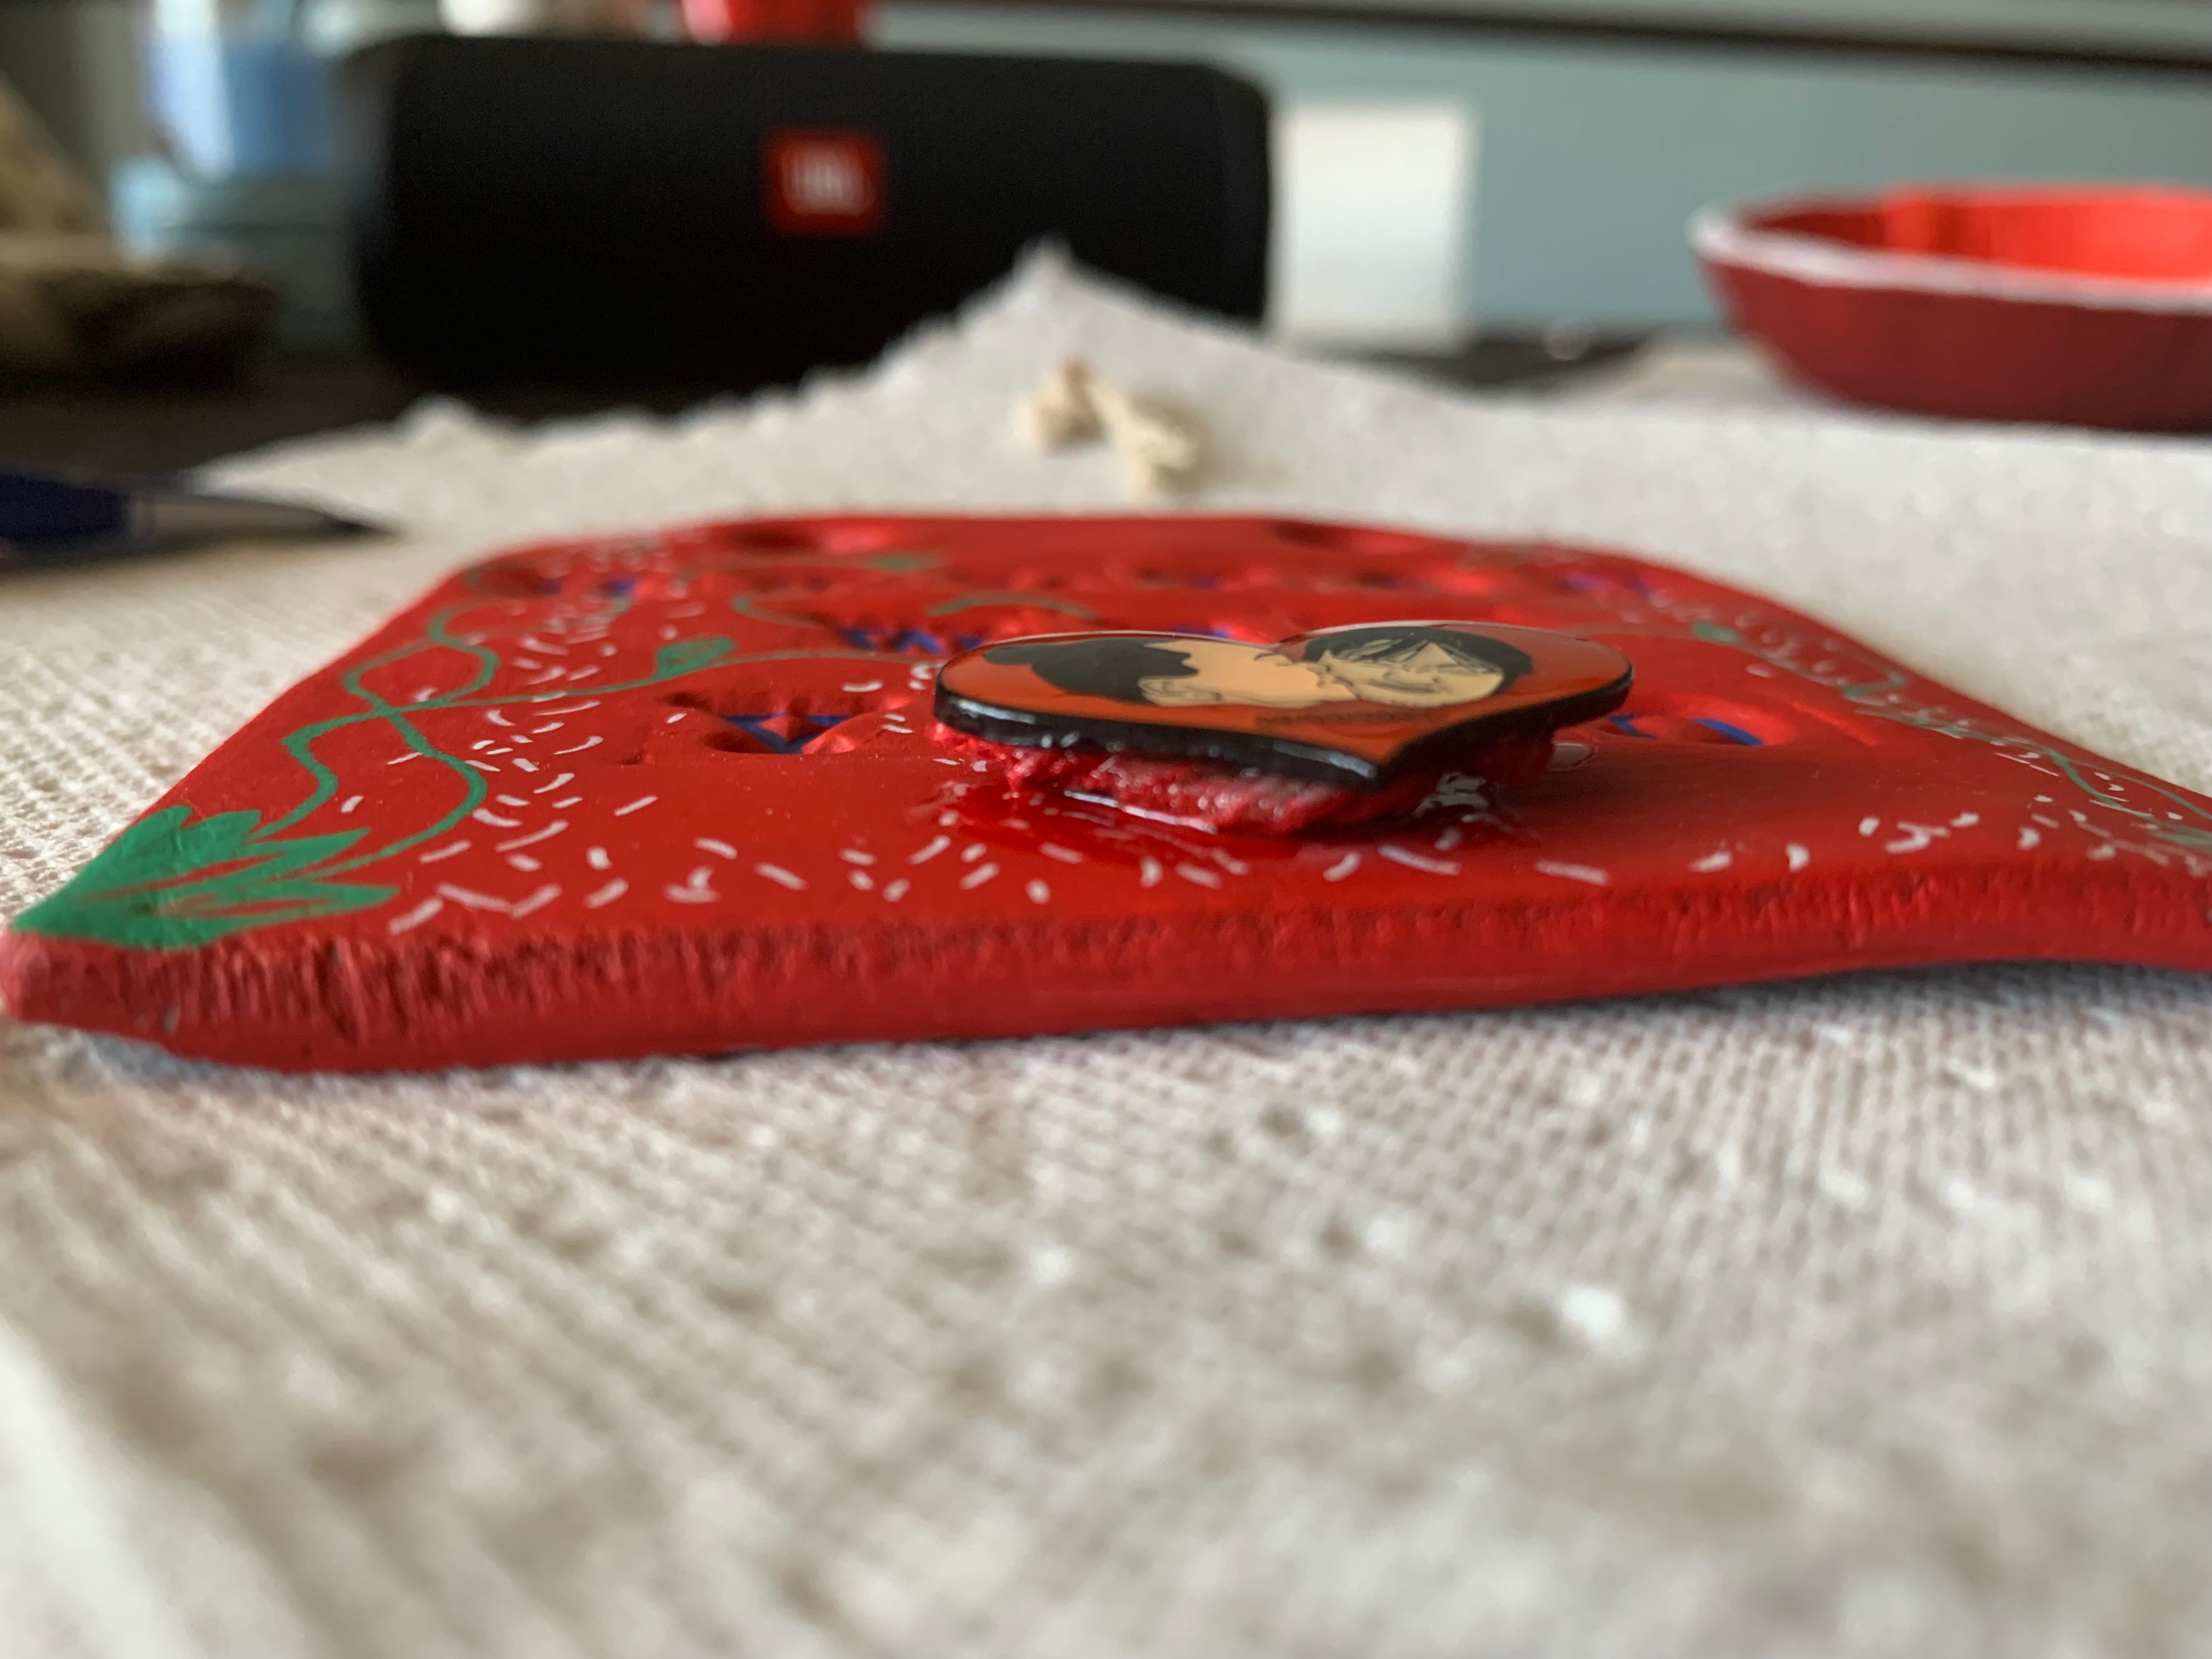
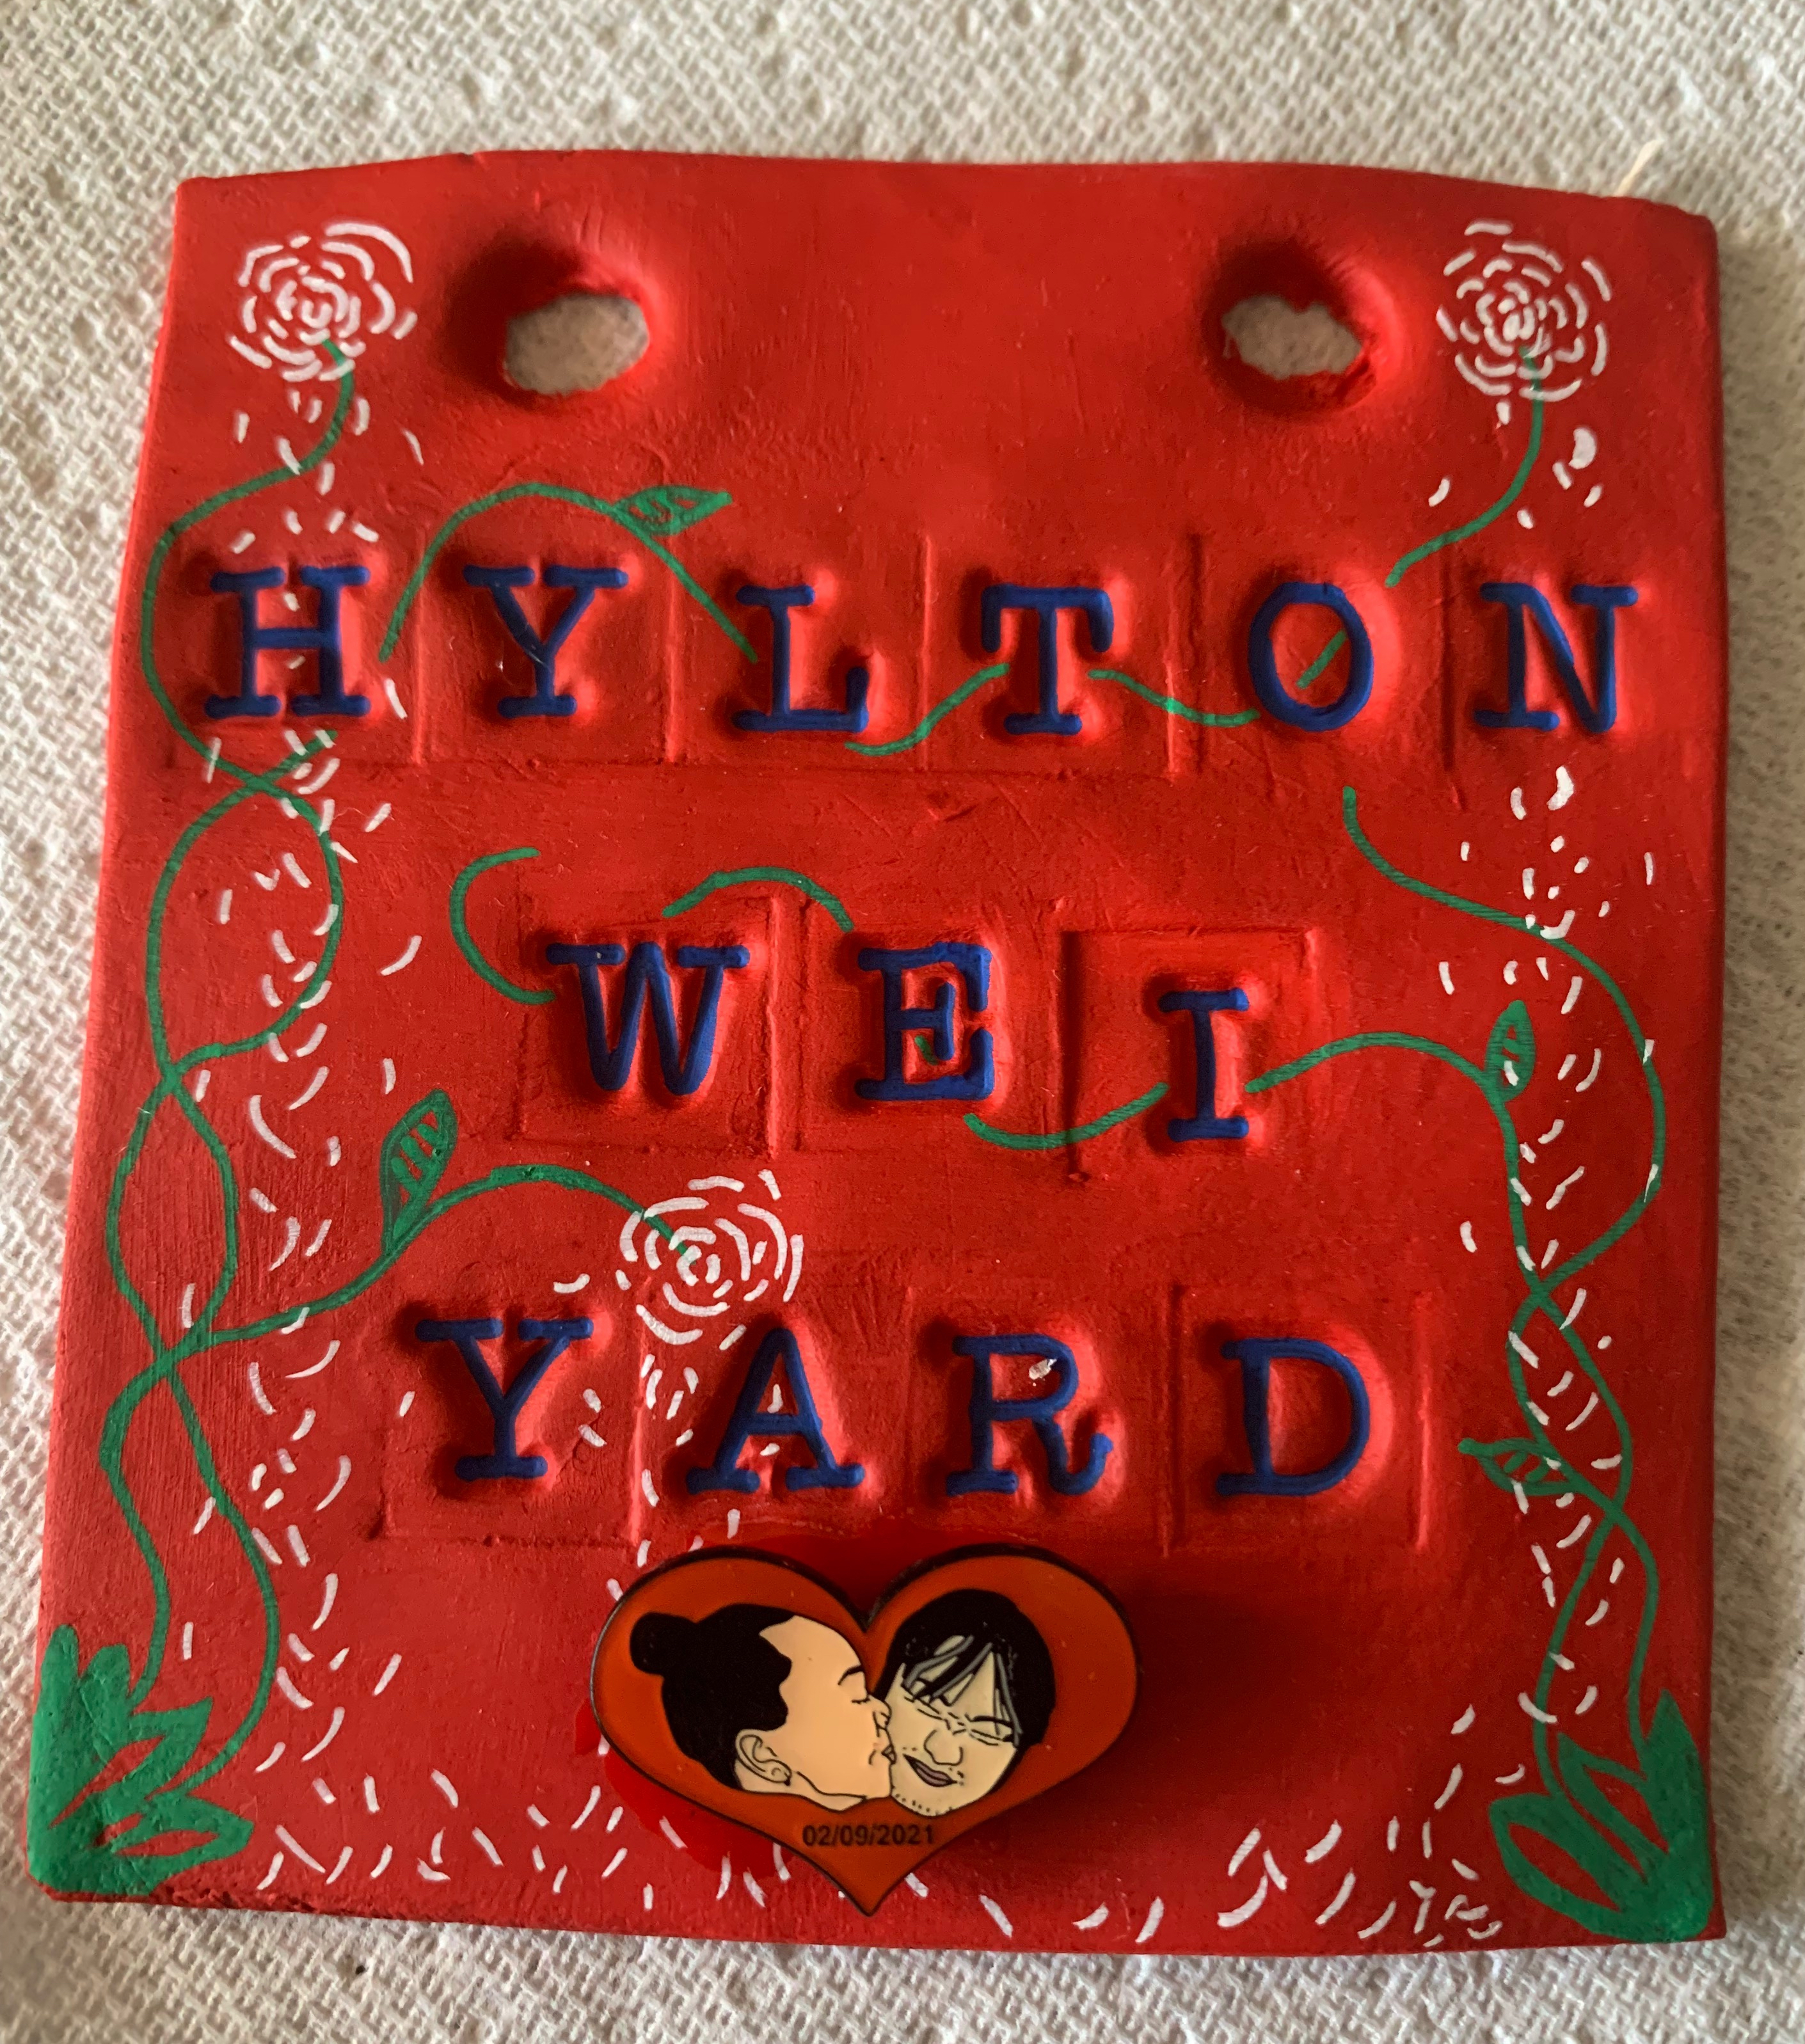
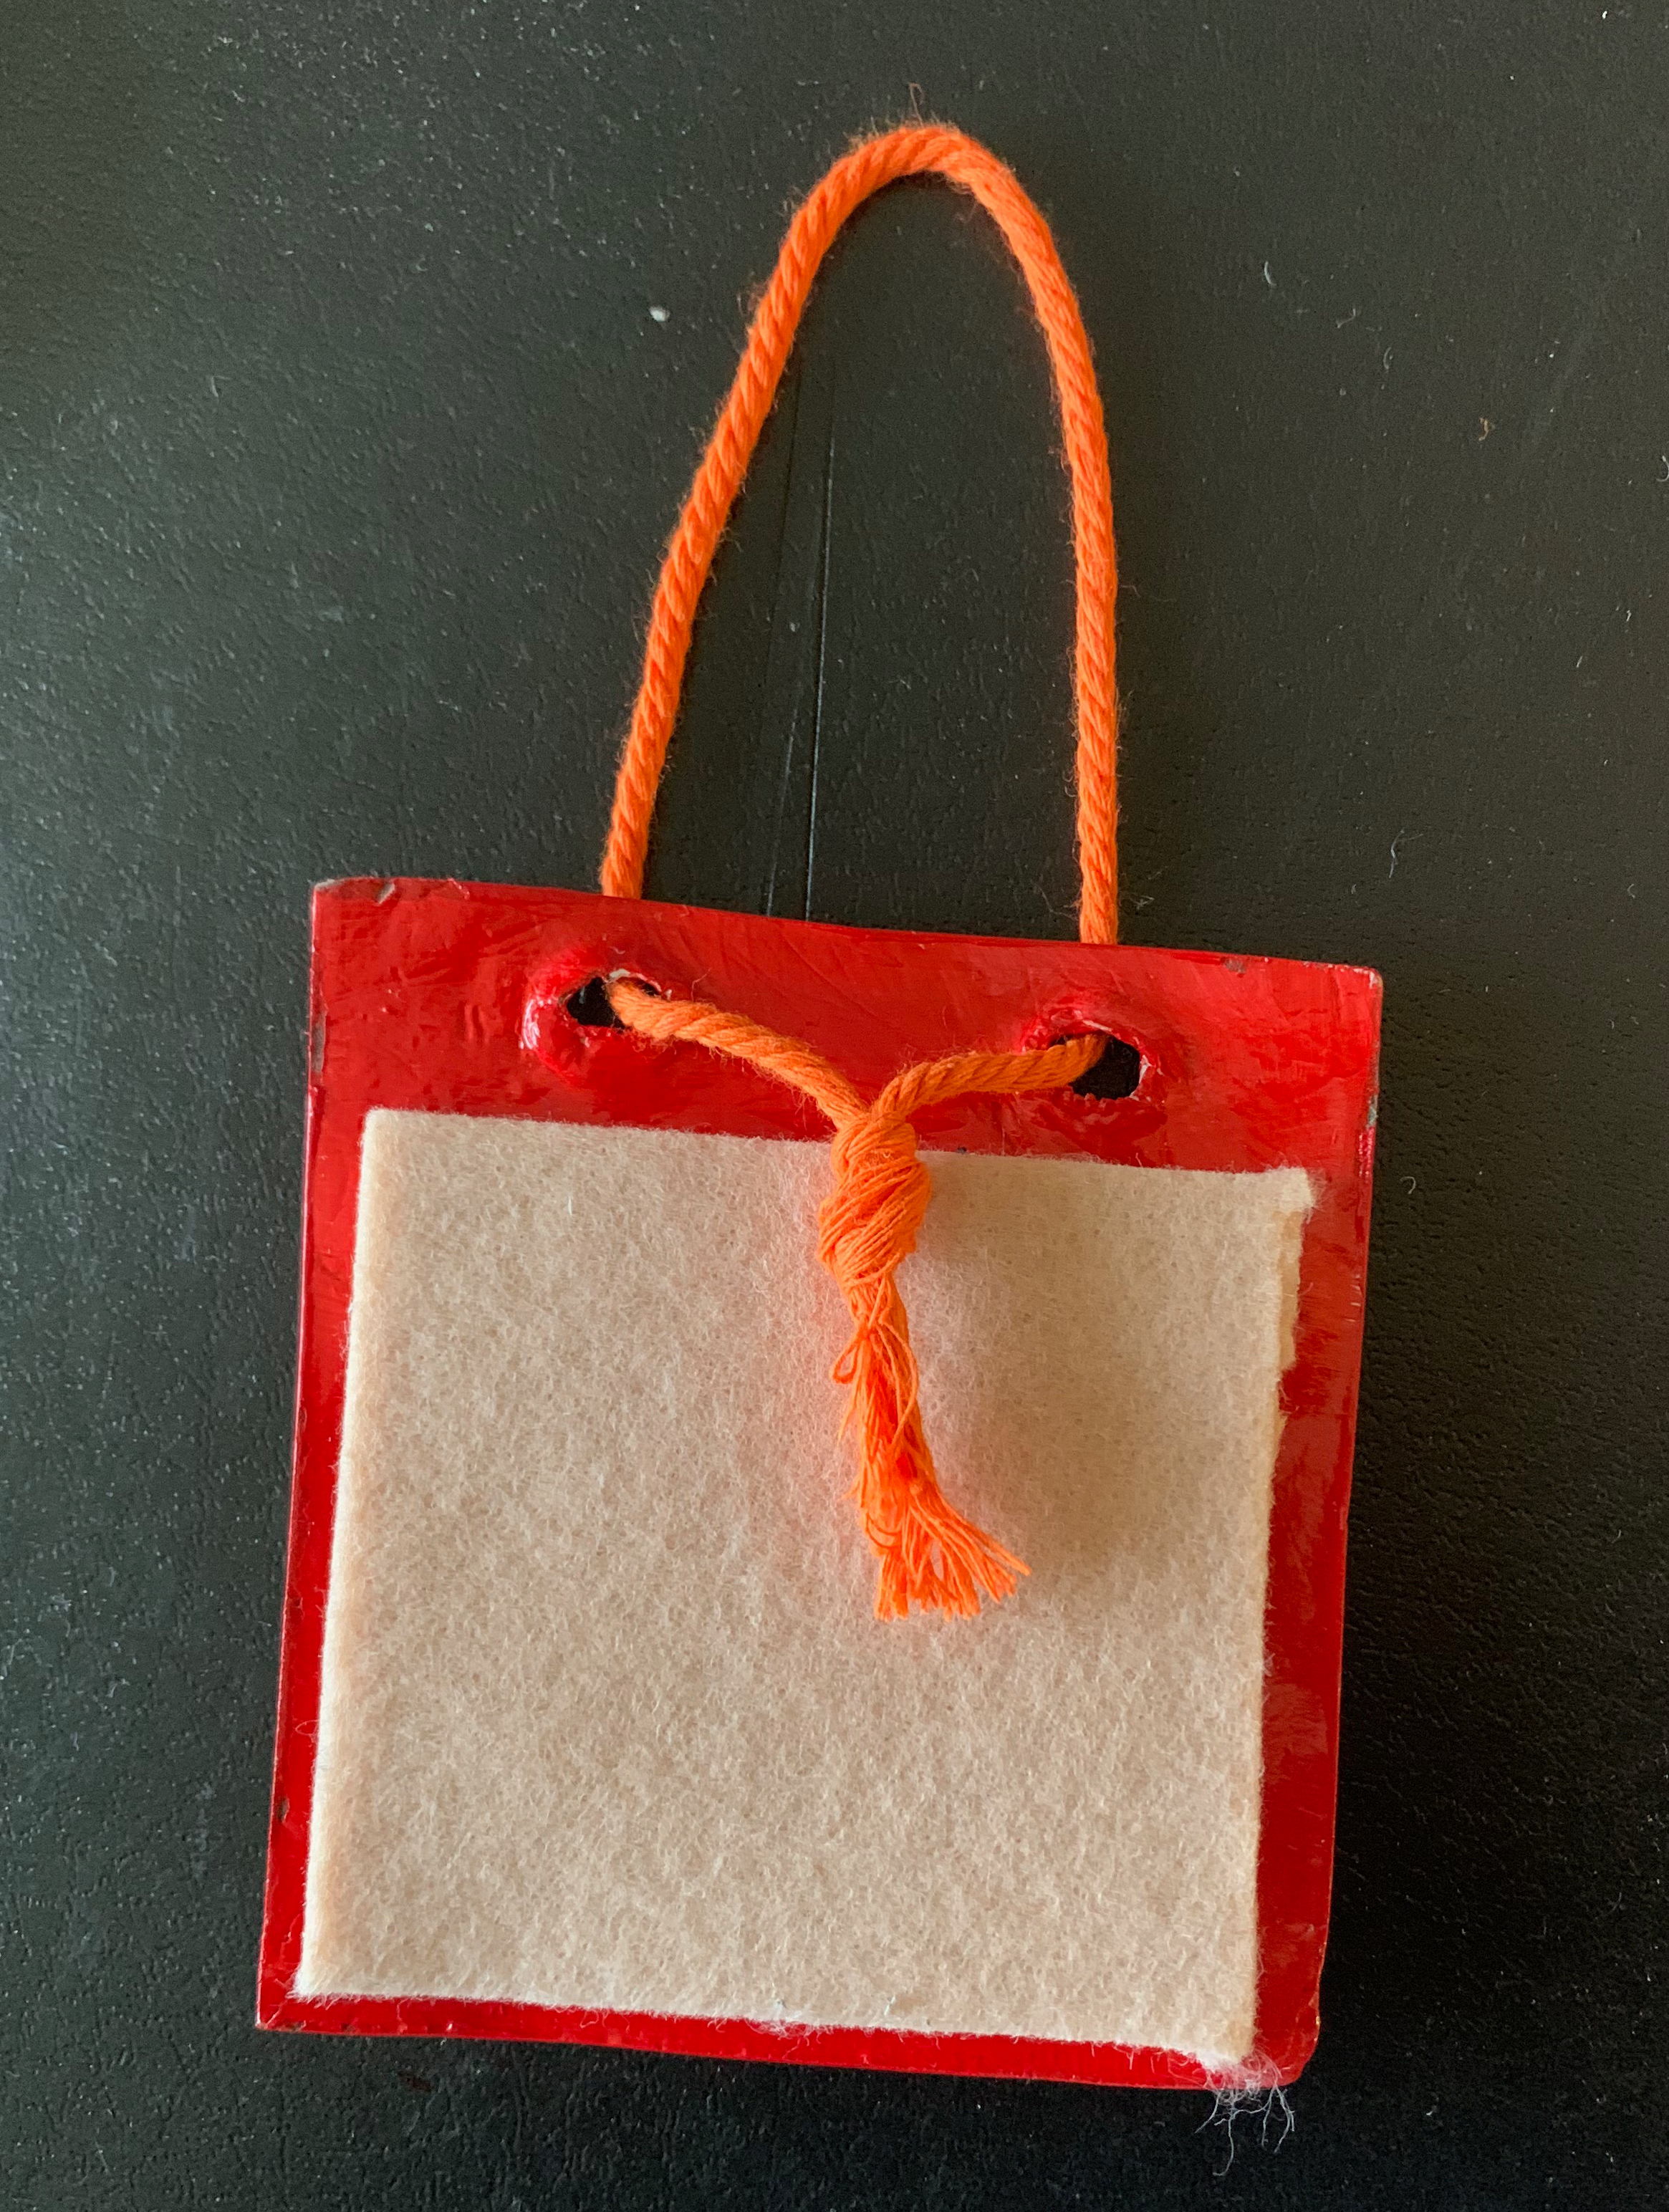
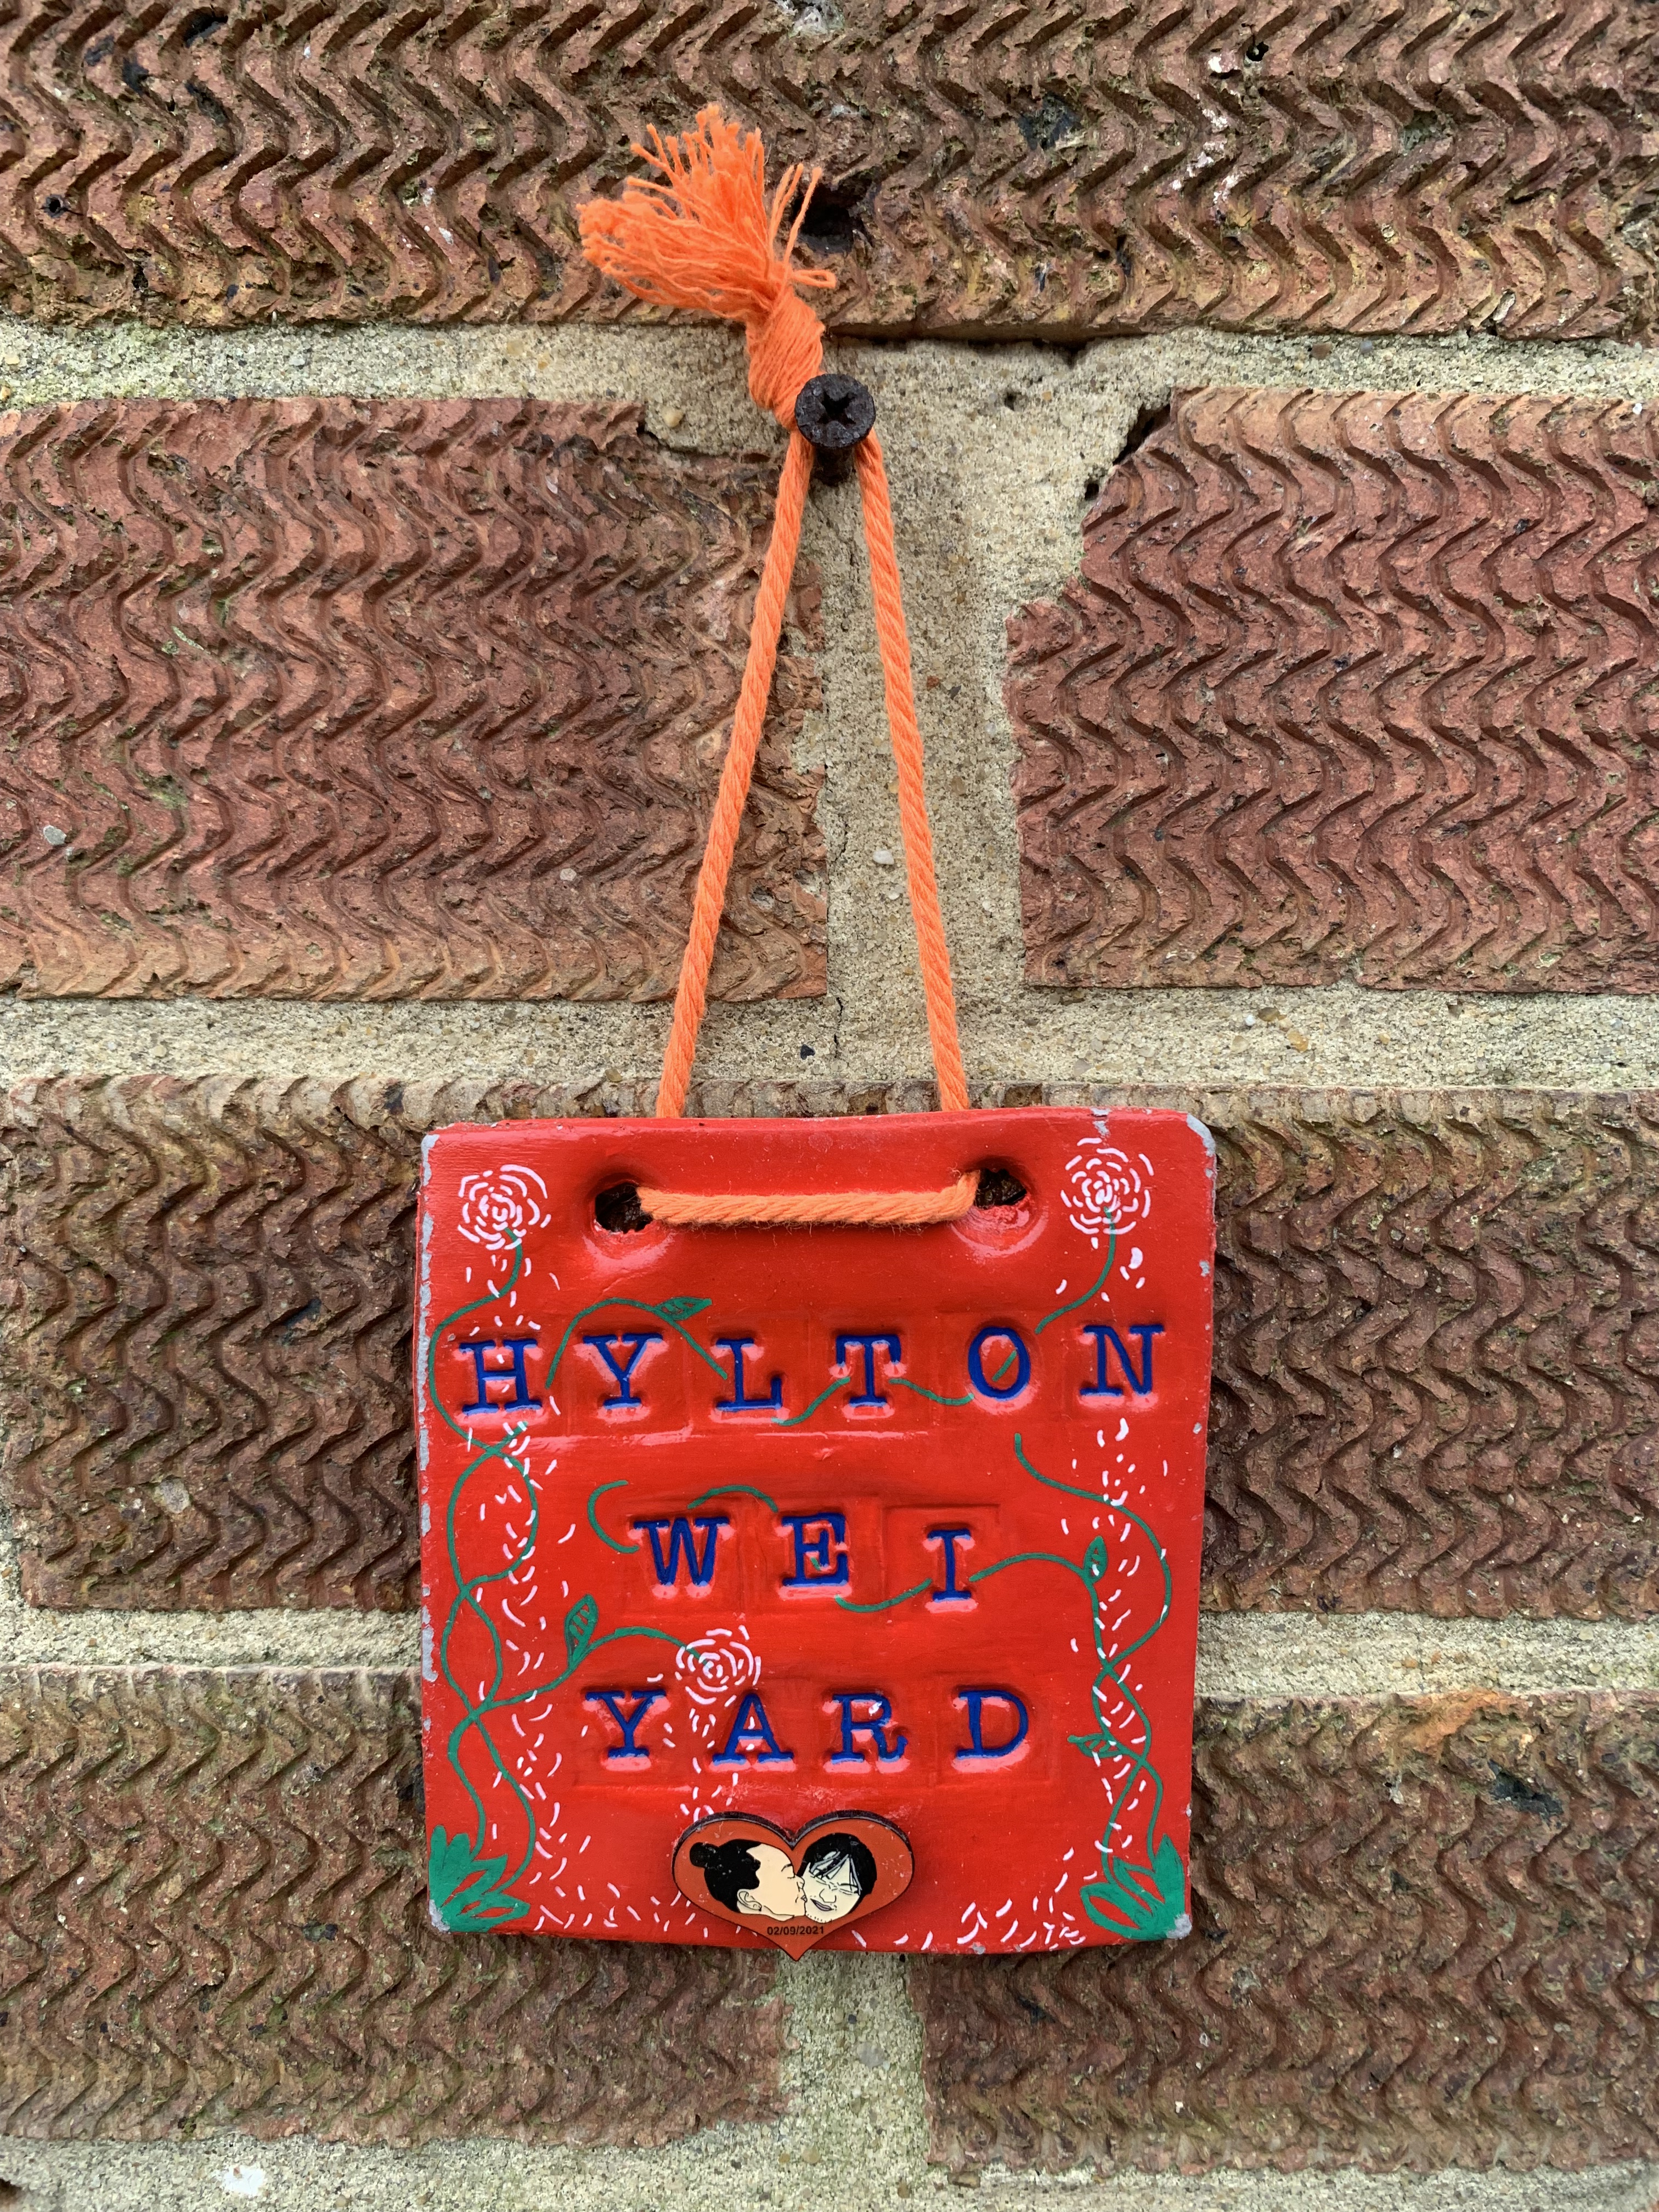
After making my first few pots, I wanted to do something a bit different (and a bit “easier”). So I decided to make one of those house name thingys. I started by rolling my air dry clay and cutting it into a square with a ruler, i used a wooden rod to make the hanging holes, and used letter stamps to create impressions for my lettering. Once it was dried I used sandpaper to smooth the edges and hanging holes. First doing an undercoat of white, I then painted it red and just went with the flow with the design using 0.7 posca pens. When the paint was dry and before I sealed it, I got one of our wedding gift pins, used pliers to get as much of the needle-pin part off. I didn’t quite know how to secure it, so I tried using string to make the back of the pin flush, and stuck it down with some no-nails glue. To make sure it wouldn’t smash against the wall and crack, I put some padding on the back and it was ready to seal! After it had been up for a few days, the wind had turned it and banged it so much against the wall, the pin had come off and the corners became scuffed. So sticking the pin back on with no-nails, I then used the same glue to stick it to the wall! It is now official; our home has been named and blessed!


After making my last set of pots with air-drying clay, I realised that it wasn’t just the pots I had to make, but it was all the macrame I had to do alongside them. So, with my next pot, I wanted to make one that I could still hang, but I didn’t have to do all the knotting. This time I decided to make an extra large pot that had holes where I could simply thread my string through and make a nice loop at the top and the same pretty thread dangling finish. I also enjoyed making different impressions for the designs on my last pots, but I wanted this one to be slightly more purposeful and themed. It was the season of falling leaves when I started this, so I collected autumnal leaves and berries with my husband from our garden. Whilst the clay was still wet, I pushed in the vein side of the leaves onto the outside of the pot.


I really wasn’t sure if they’d be visible once it was dried, but you never know until you try! Once it was dry, I did the standard first coat of white paint, and I was thrilled to see you could still see the pressed leaf impressions. I was a little nervous to start painting this one cause it had gone so well so far. I knew my colour scheme was going to be autumnal, but how I was going to lay down the colours had me feeling anxious, I let myself stare at it for a few days (weeks) and asked my sister what colours she thought I should use, she helped me with the colours on the inside which gave me a sigh of relief, it was now to tackle the outside. I had selected all my autumnal colours out of the acrylic paints I had, so decided to just go for it and try something new; spotting each colour around the bowl, I used a sponge to press the colours in and make this striking mix of colours for the outside.

I then decided to use my posca pens to outline the leaf and berry impressions I had made, at first I had thought I was going to leave them as is, but it’s so easy to correct, I decided to paint my leaves as they would look if they had dropped from the trees, using two shades of brown, red and orange for the edges. It was now so close to being finished! Doing the gloss waterproof coat, I got my macrame string out and bought my idea to life!
If you found this useful feel free to tip my PayPal!
